As part of your SafeTitan setup, you supplied a Microsoft email address and Azure Tenant ID to your SafeTitan account manager. In return, you received a Welcome email with information to help you complete the sign-up process:
To complete the process and log in to your SafeTitan MSP Admin portal, follow these steps:
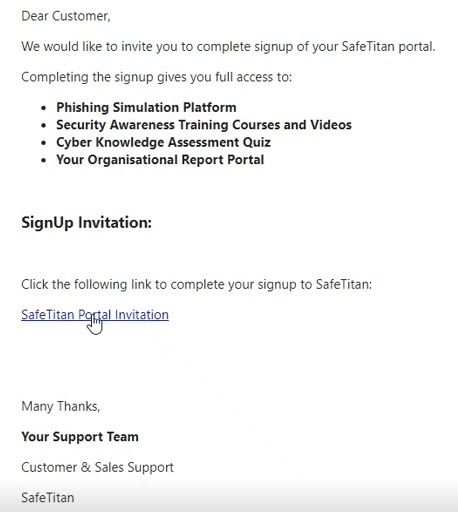
Select the SafeTitan Portal Invitation URL provided in the Welcome email.
In the SafeTitan MSP Sign-Up window that opens, verify that your details are correct and select the Continue Signup button:

If you notice an error, please contact SafeTitan Support for assistance.
In the next window, you enable the connection between SafeTitan and your Azure Active Directory (AD). This is the part of the set-up process where you decide how you want customer activation to be configured. There are three connection options from which to choose, with Option 1 being the recommended choice because it automatically configures the following:
SSO: Enables your users to log into your SafeTitan portal
AD Sync: Automatically syncs your users with your SafeTitan portal
Graph API Phishing Delivery: Creates the emails in your users' mailboxes and eliminates the need for any email trust-listing.

Option 1: Azure SSO, AD Sync and Graph API Phishing delivery (recommended): This is the recommended option because if you select this, then configuration of your portal is completely automated. AD Synchronization and Authentication are set up for you, and after you give consent in Step 4, you are automatically logged into your MSP Dashboard. If you select Options 2 or 3, you will need to complete additional steps before you can access your MSP Dashboard.
Option 2: Azure SSO and AD Sync: If you select this option, then SSO and AD Sync are automatically connected to your SafeTitan portal and configured. Without automatic configuration of Graph API email injection, however, you'll need to set up email delivery preference in the Configuration > Phishing Email Settings section of your Customer portal. This is to ensure the safe delivery of emails from the SafeTitan portal to your users' inboxes.
Option 3: SSO only: Selecting this option means you create a connection between your SafeTitan portal and your Azure AD, enabling SSO configuration for your users. Note that you'll also need to manually sync their accounts with your SafeTitan portal, and set up your email delivery preference. You may wish to refer to SafeTitan Manual Onboarding for Administrators for additional help.
To initiate Admin Consent and allow the SafeTitan application to be registered within your Active Directory, select Accept in the Permissions dialog to continue. The example below, with its list of permissions, is based on Option 1 being selected.

After acceptance, you are automatically logged into your MSP Admin Dashboard from where can access all the tasks necessary to manage customers and their phishing and training campaigns.
Note
Azure AD Synchronization automatically occurs every night. If you want to trigger the synchronization immediately, go to the Customer portal and select User Manager > AD Sync Configuration. In the Azure AD Sync tab, under the data that has been automatically completed, select Trigger Sync Now.